CD Ripping Experience Share
As a game soundtrack collector and one who often listen to those music on CDs, it’s almost impossible to keep replacing CD from CD drive every an hour while listening. From the perspective of convenience in either music listening, management, storing, or sharing, it is really necessary to rip music from those CDs.
This is a personal note for my CD ripping experience. I think it is worth of a post, at least the equipments which cost me several hundreds of dollars are worth of it (laugh).
Preparation for CD Ripping
Equipments
To start with CD ripping, you should at least have a CD drive, undoubtedly. My personal equipments for CD ripping is somewhat bottommost hardware, considering I am just a newbie in CD ripping:
- Gotega External DVD Drive, USB 3.0 Portable CD/DVD
- Epson Perfection V39 Scanner
During the ripping, I felt these following are also quite necessary:
- Disposable latex gloves
- Screen cleaner spray or wipes
- Normal wet wipes
These really helps prevent grease or dirt adhering to the CD, booklet, or the screen of the scanner. Afterall, nobody likes some fingerprints to present on the scan of the CD and the booklet. Wearing a latex glove on one hand really helps to prevent this, or just wash your hands carefully with plenty of hand soups before CD ripping and scanning.
Software
The most important software, which rips music from CD, is EAC. The following of this article assumes using EAC v1.6. Installing EAC is a seemingly long and complicated procedure. Keep in mind that you need musics with best quality, and choose the corresponding configuration during the installation helps reduce most of the problems.
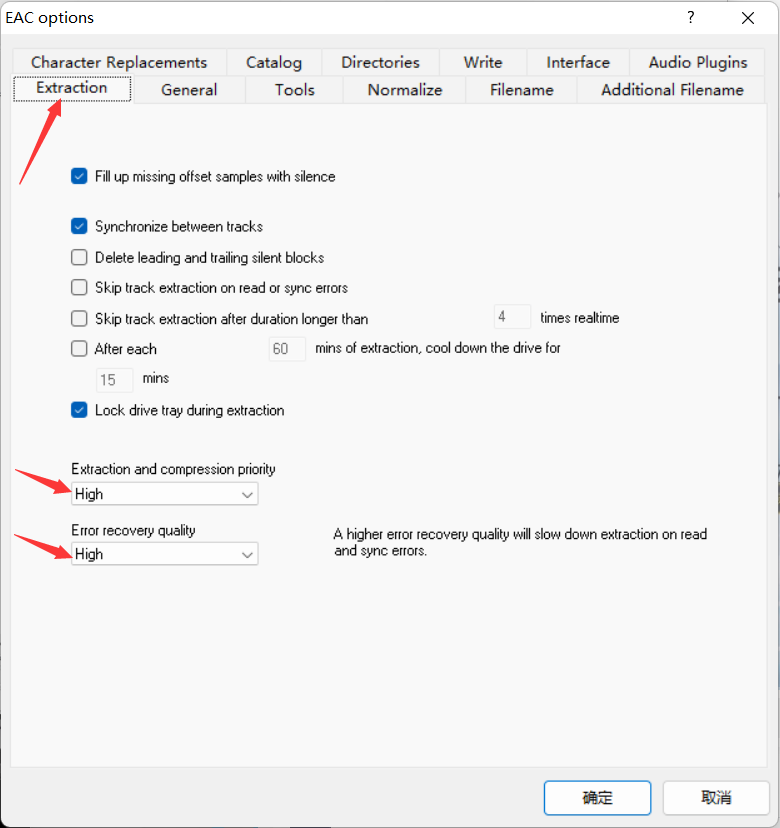
After installation, go to EAC - EAC options, set both of the following to high:
Extraction - Extraction and compression priorityExtraction - Error recovery quality
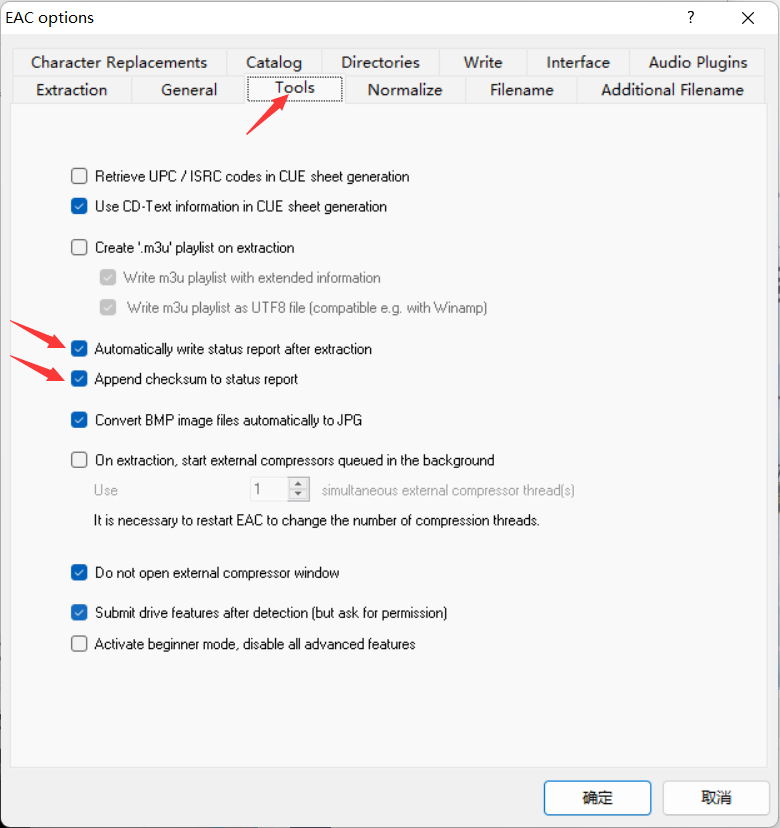
And check the box in
-
Tools - Automatically write status report after extraction -
Tools - Append checksum to status report
Then, go to EAC - Drive options, ensure it is set to Extraction Method - Secure mode ... (recommended) and have the following checked
- Drive has ‘Accurate Stream’ feature
For a detailed installation guide, click here (sadly this guide is only available in Chinese).
As for the scanner, simply install the driver and softward provided by its brand, because the software of scanner among different brands also differs much.
CD Ripping
Ripping Procedure
For CD ripping, I roughly split it into multiple steps:
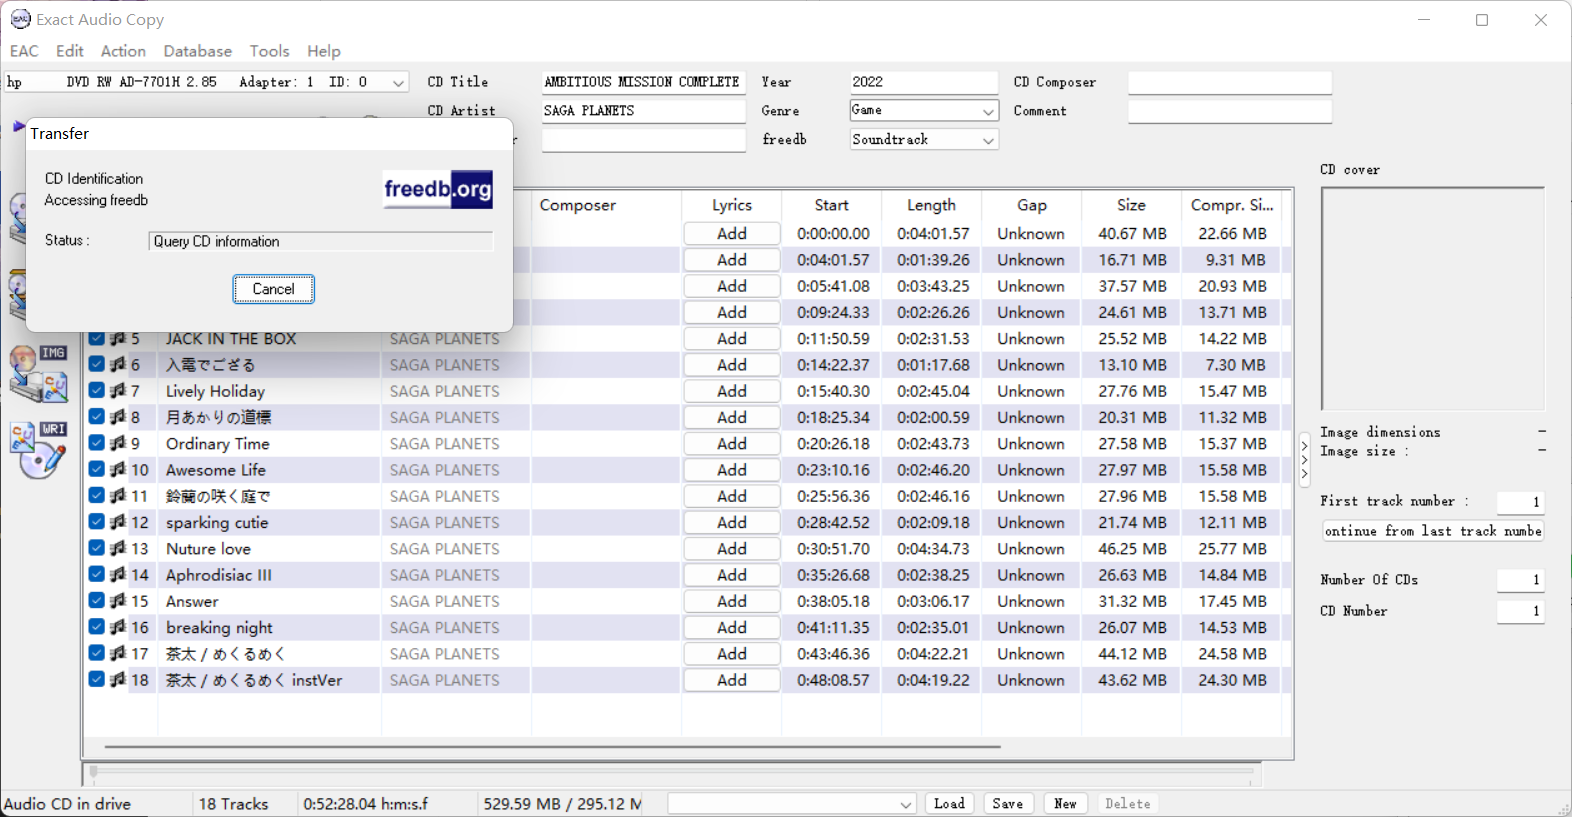
- Open EAC, insert the disc, and the music information will appear in the window.
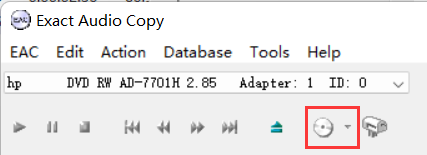
- If necessary, click on second icon from the right (which is on the right side of
Ejectbutton) to search for CD information from database. It is possible to switch from different databases by clicking the select box next to the CD icon. If you decide to manually enter the CD information after ripping (for example, when detailed information is provided in the booklet of CD), you might skip this step. - Click on
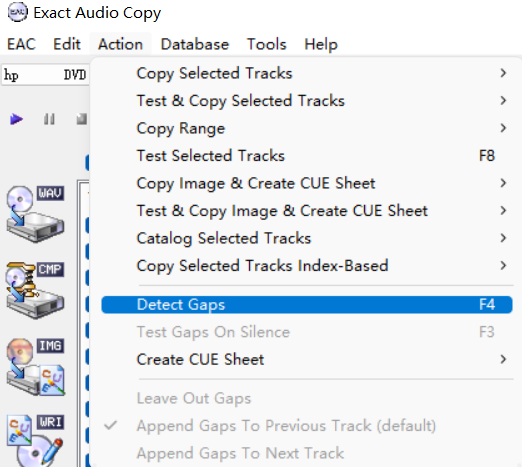
Action - Detect Gaps, wait until gap detection finishes. - Click on
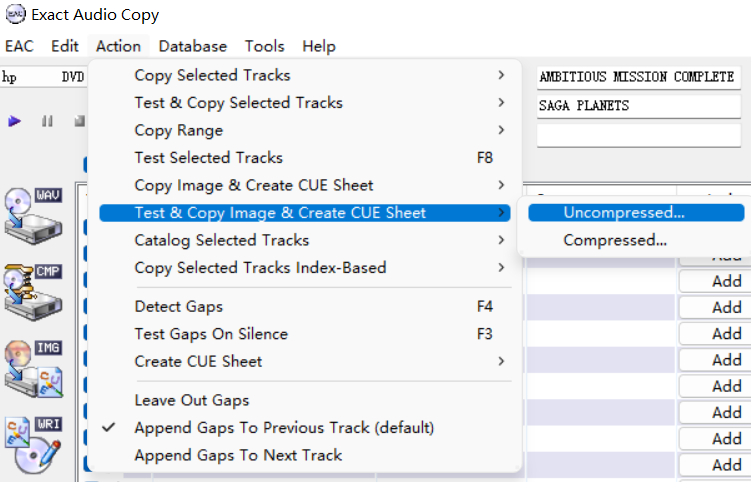
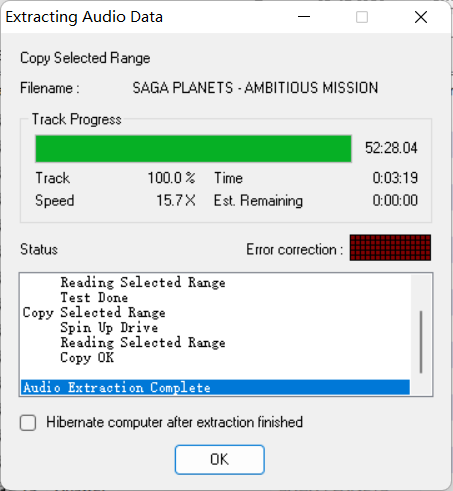
Action - Test & Copy Image & Create CUE Sheet, choose whatever of compressed (flac) or uncompressed (wav) based on your preference. Then choose a path of saving the ripped file, wait until ripping finished. - Check the ripping log and listen to the audio to ensure no problem happens. Then you have a ripped CD! Remember to put your CD back to the box.
After Ripping
There are, actually, some post-works to be done. These works are often ignored and I have seen quite frequently that someone shared their CD with a CUE sheet in unknown encodings which caused inconvenience.
- Open your CUE sheet (the file ending with
.cuesuffix) with an appropriate editor, like VSCode or some other ones that supports you change the encoding of file. - Check the encoding of your CUE sheet. In VSCode, it is at the bottom of the window. If your CUE sheet seems to contain a lot of corrupted characters, it is very probably that you opened the file in a wrong format. It everything seems to be OK, jump to step 4.
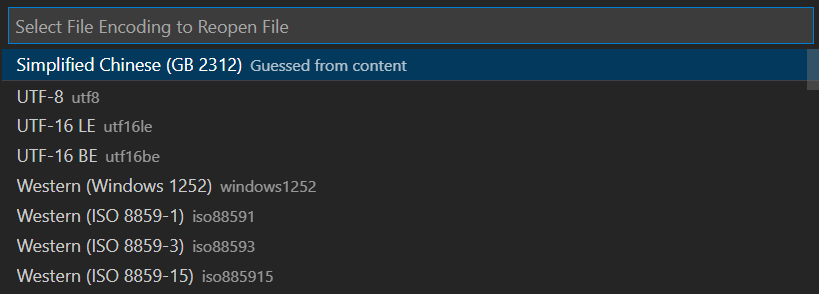
- Click on the encoding, select
Reopen with Encoding, then select the first encoding which has aGuessed from contentafter it. Re-check if the CUE sheet looks OK with the new encoding. If problem still exists, check the following encodings, which are common in my personal experience:Simplified Chinese (GB 2312)Japanese (Shift JIS)Simplified Chinese (GBK)UTF-16 LEUTF-16 BE
- If the encoding of your CUE sheet is not in
UTF-8, click on the encoding, selectSave with encoding, then selectUTF-8to save your file in appropriate encoding format. - Do this again to your log file.
- If you wish to share the CD in online platform, remove the personal information, like anonymize your file save path, in your log file.
If you are not satisfied with the CD information found on the online databases, you can manually enter the information in your CUE sheet. The format of CUE sheet can be found here. My personal practice of CUE sheet formatting is to make a CUE sheet like this:
1 | REM DATE 2022/09/10 |
Where I mainly removed the remark of EAC version, and edit performer if it does not correspond to what appears on the booklet.
I’m also used to name the audio file to {ALBUM_NAME} DISC {DISC_NUMBER}.wav, even if the album only have 1 disc.
After all these long steps, you finally have a fully prepared ripped CD. Now put it to your music player, and enjoy it!
Scanning
Obtain Original Scans
Scanning the an album includes scanning its cover / booklet, back / tray, CD, and possibly its obi. Wear a glove on at least one hand, or carefully wash hands with hand soups before taking them out to prevent leaving fingerprints on them. Take these parts out from your CD box, and scan each part with a scanner. If necessary, take off the staples from the booklet, and staple them back after scanning, which I personally rarely do.
Cropping Scans
After obtaining the scans (better in lossless form, like bmp, png, or tiff, differing with scanner), crop it manually to suitable sizes.
I prefer to crop the scans manually, as the auto-cropping functionality provided by the scanner, in my case, crops much part of the image off.
Booklet, Tray, Obi
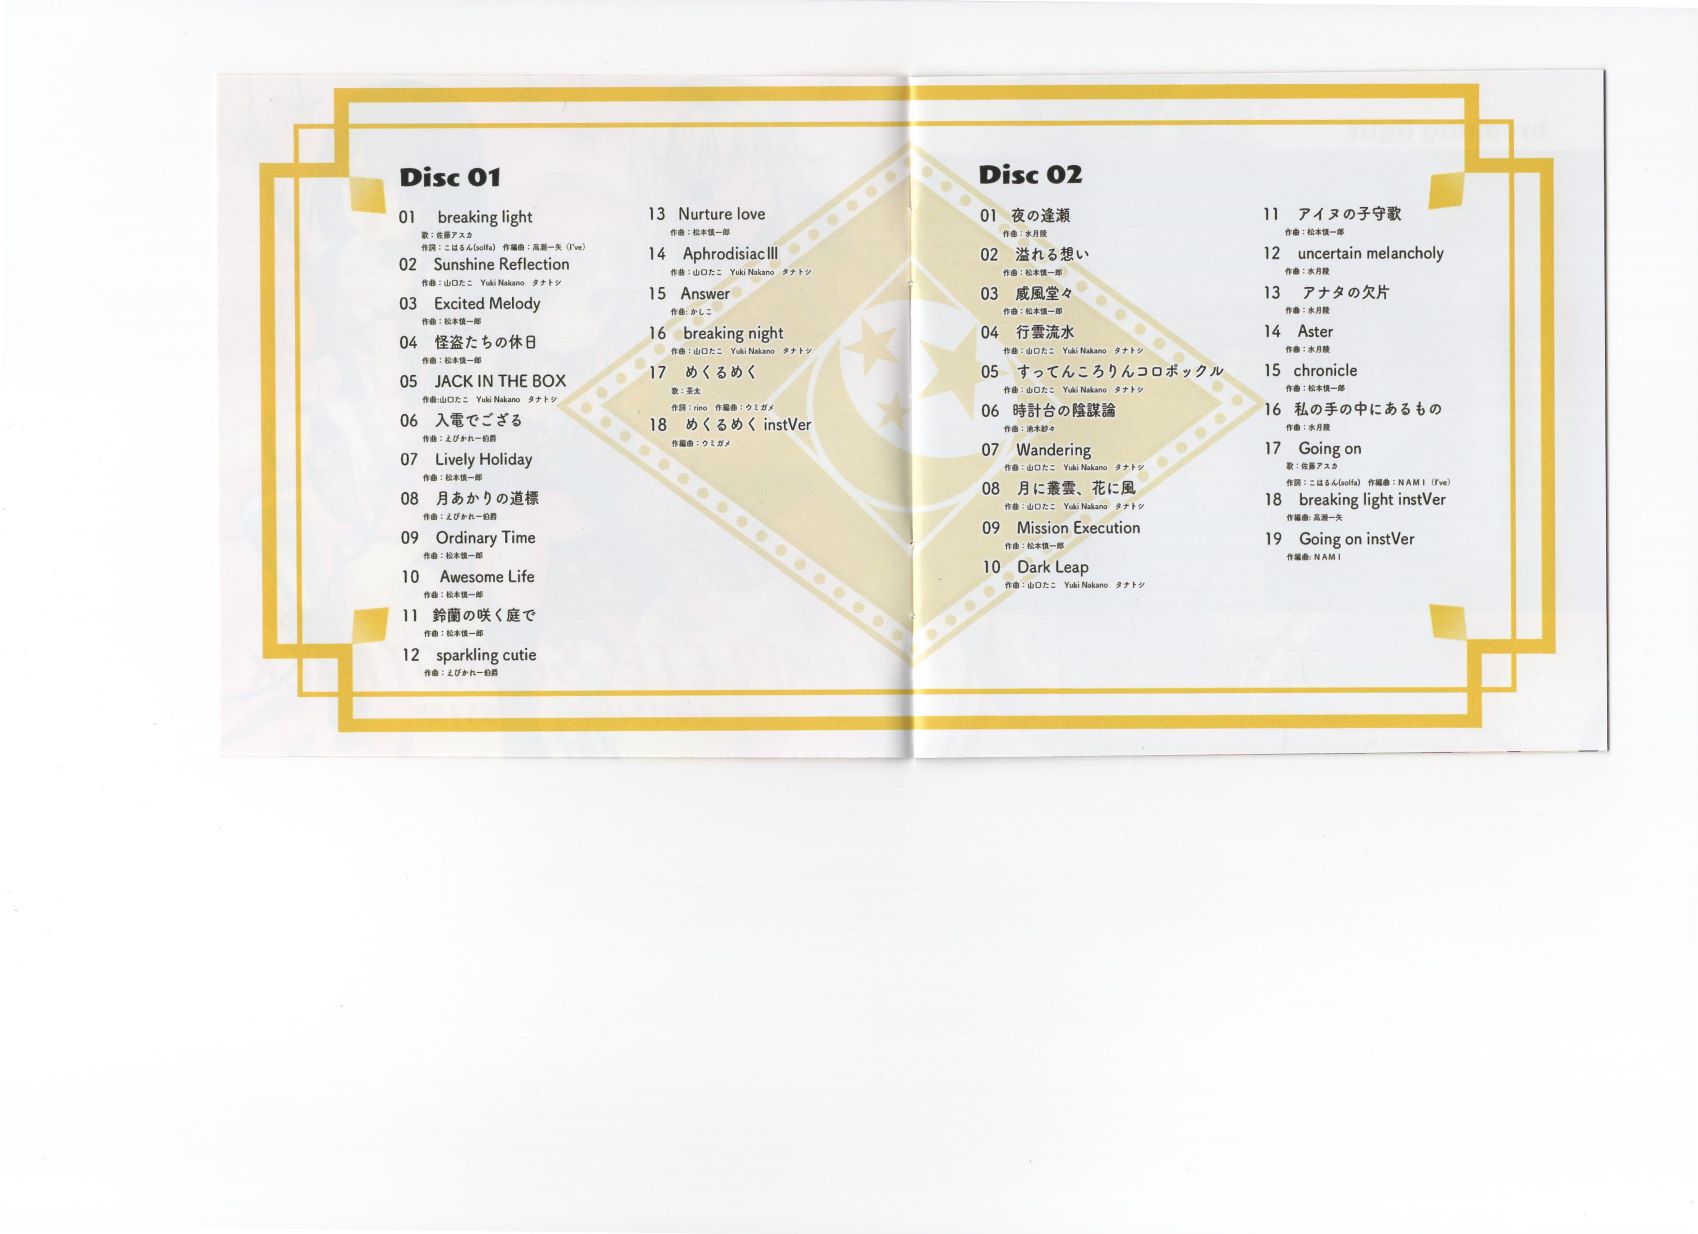
The original scan of booklet from the scanner might look like this.
I have tried several method to locate the boundary of this scan, but all of them failed as the background color and the color of the booklet are so close. Furthermore, automatic boundary detection also leaves some extra part, or results in a slightly skewed scan, both of which are what I do not want. Finally, to crop the scans as accurately as possible, I decide to use a noob method: manually find the coordinate of boundary points of the image.
The cropping of the back and obi parts are exactly the same as the booklet, and here I just use a page from the booklet as an example.
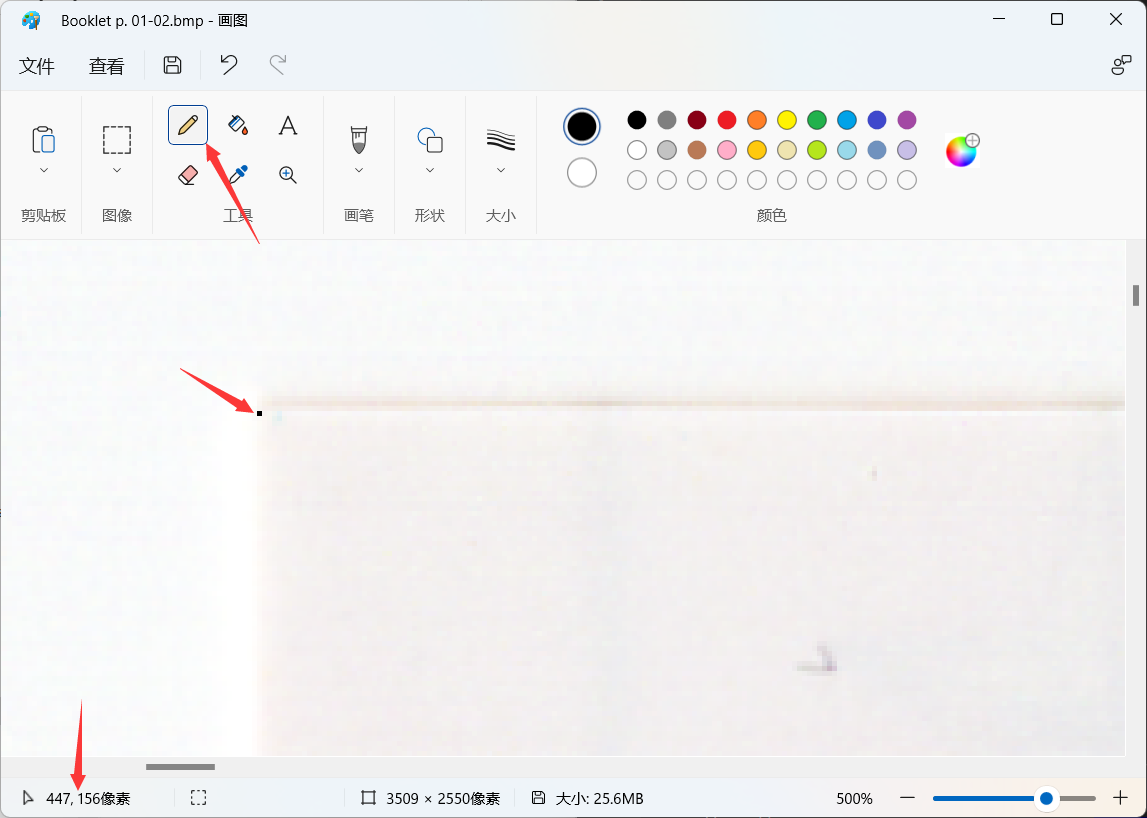
The most lightweighted app to find such coordinate, as I found, is the Microsoft Paint, lmao. Open the raw scan file, scale up it until you can accurately pick any pixel from it, and locate the coordinate the boundary point of the booklet like this:
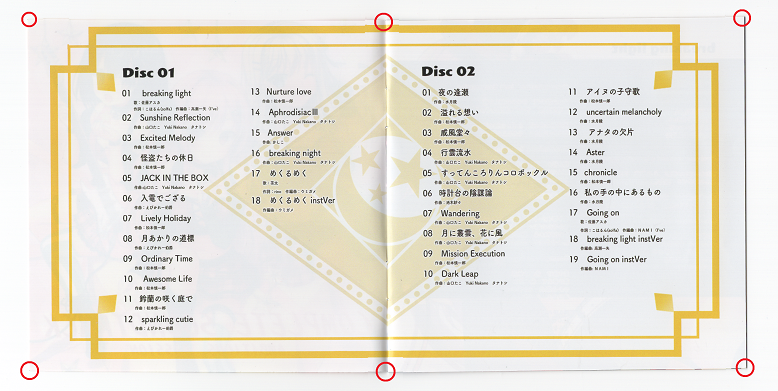
Note down all the coordinates of the boundary points of the booklet, which will be used in the next step: crop and transformation.
1 | # Coordinates of the 6 points, clockwise, from the top-left one. |
I then use the following python code to crop and transform the scan.
1 | # Note: python==3.10.0, opencv-python==4.6.0.66, numpy==1.21.5, imutils==0.5.4 |
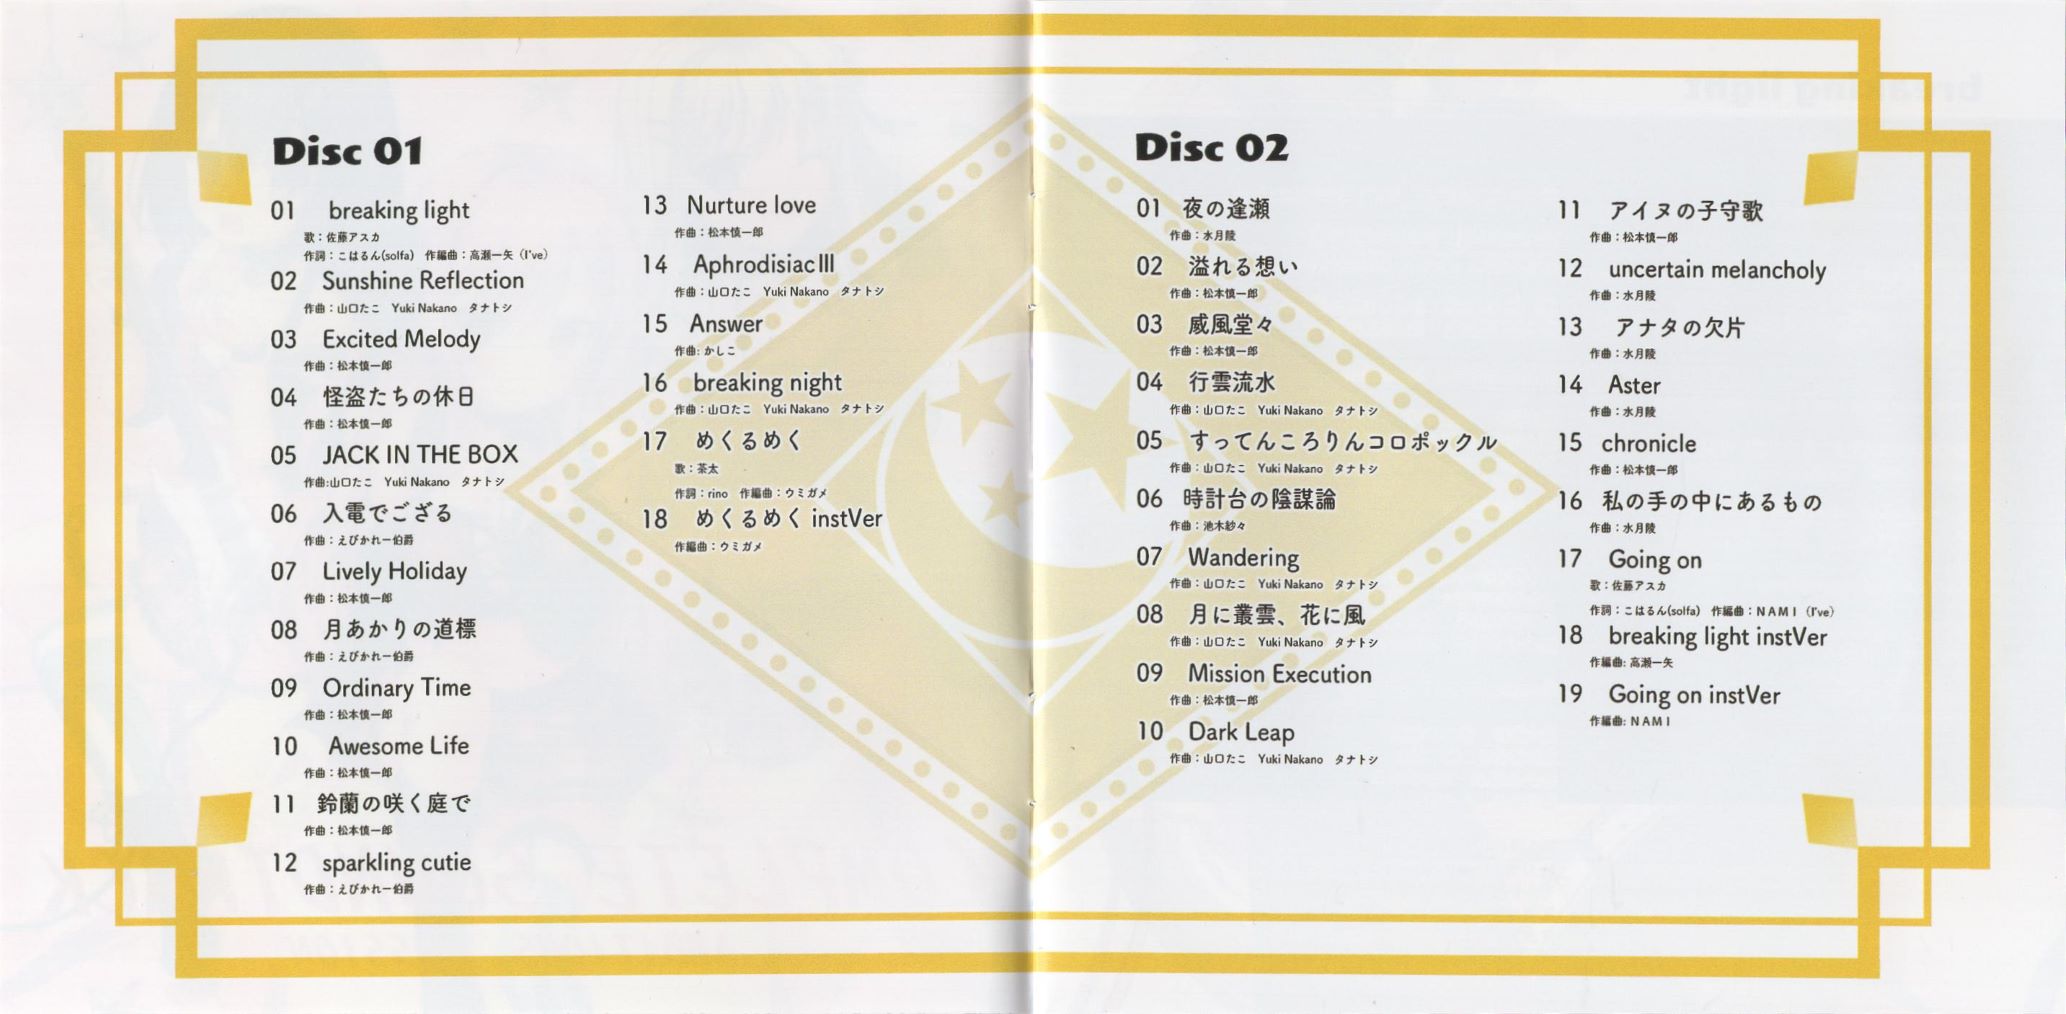
The final cropping results looks like this:
You might noticed that the image still skews a bit, but this is due to the printing process rather than the scanning and cropping process, which actually can be seen from the raw scans. From my personal perspective, the above procedure already produces a quite satisfying result.
Disc
Cropping of the disc is more complicated than cropping a rectangular booklet page. As for now, I can only find some straightforward way to handle it.
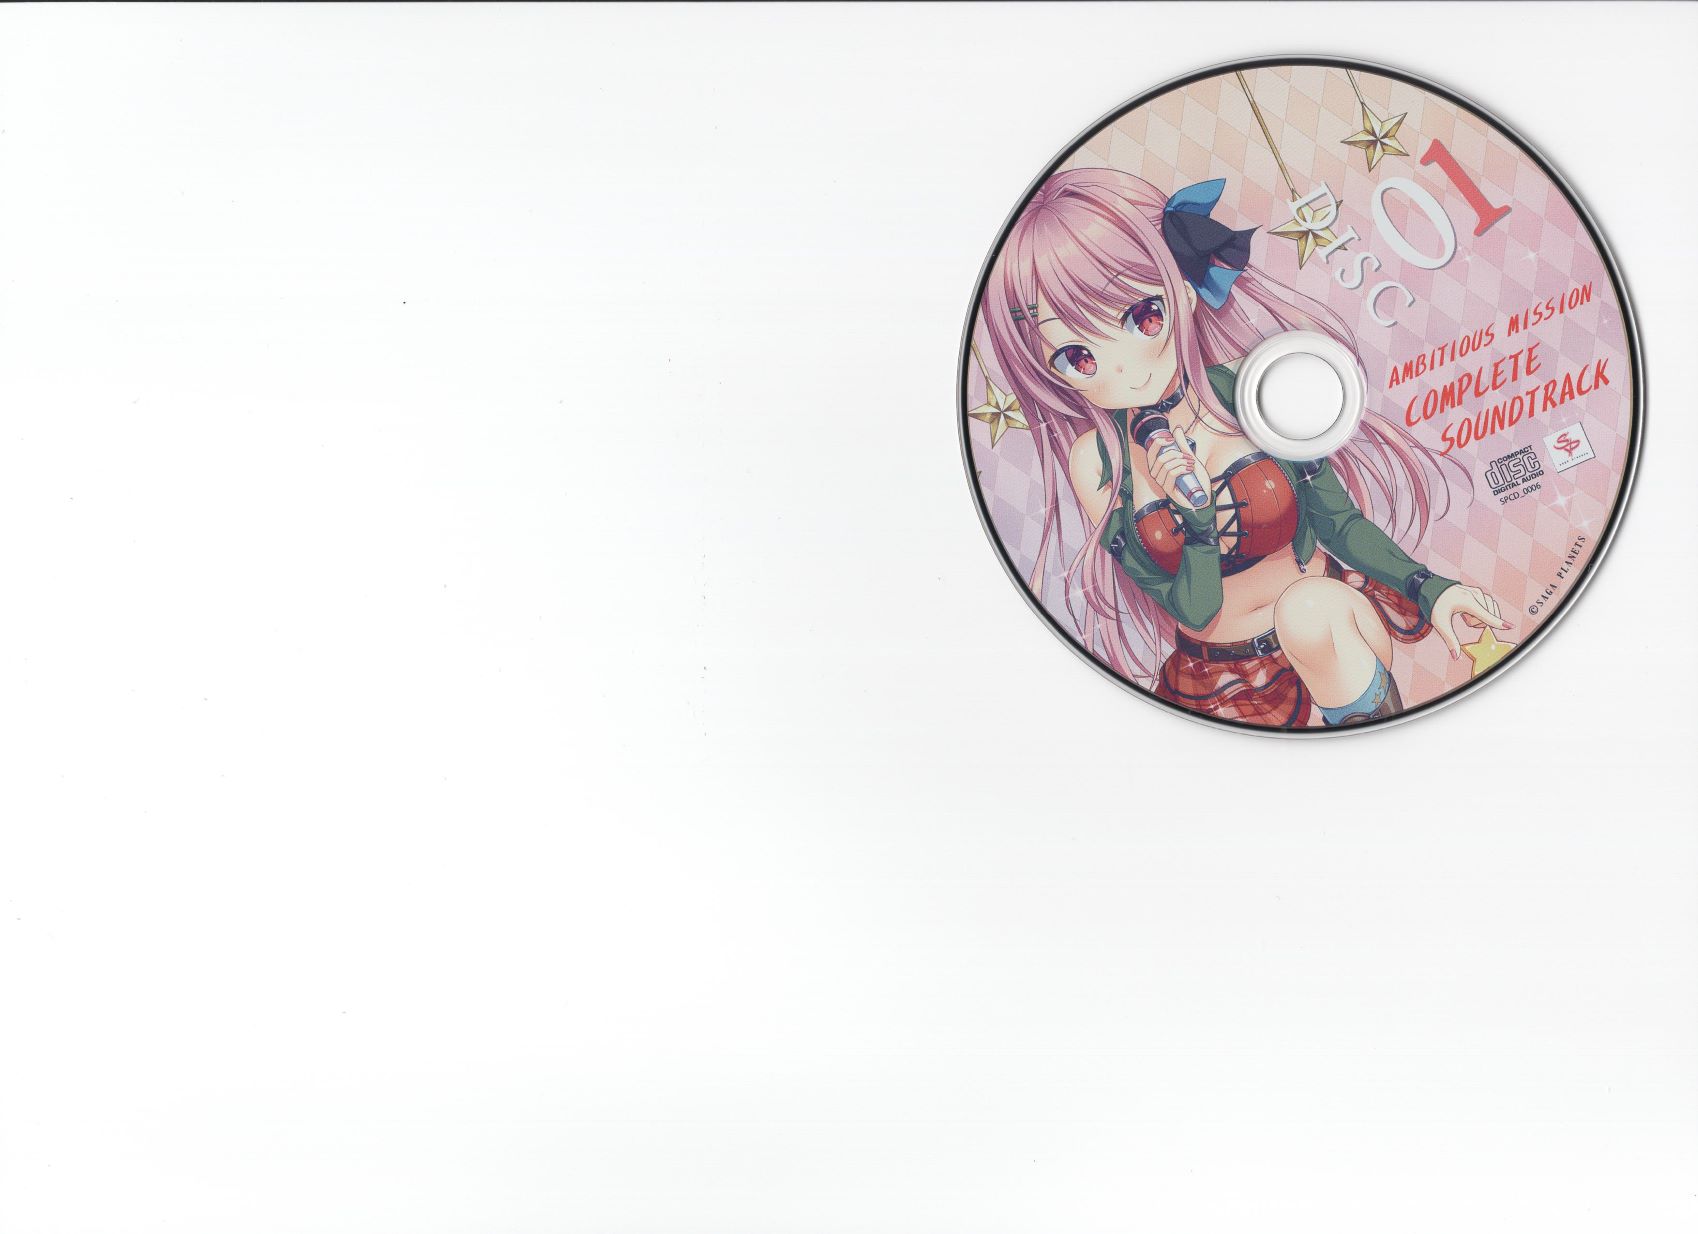
Similarly, the first step of cropping a disc is to crop off the white background around it. In this step, use whatever method you like, to crop a disc like this:
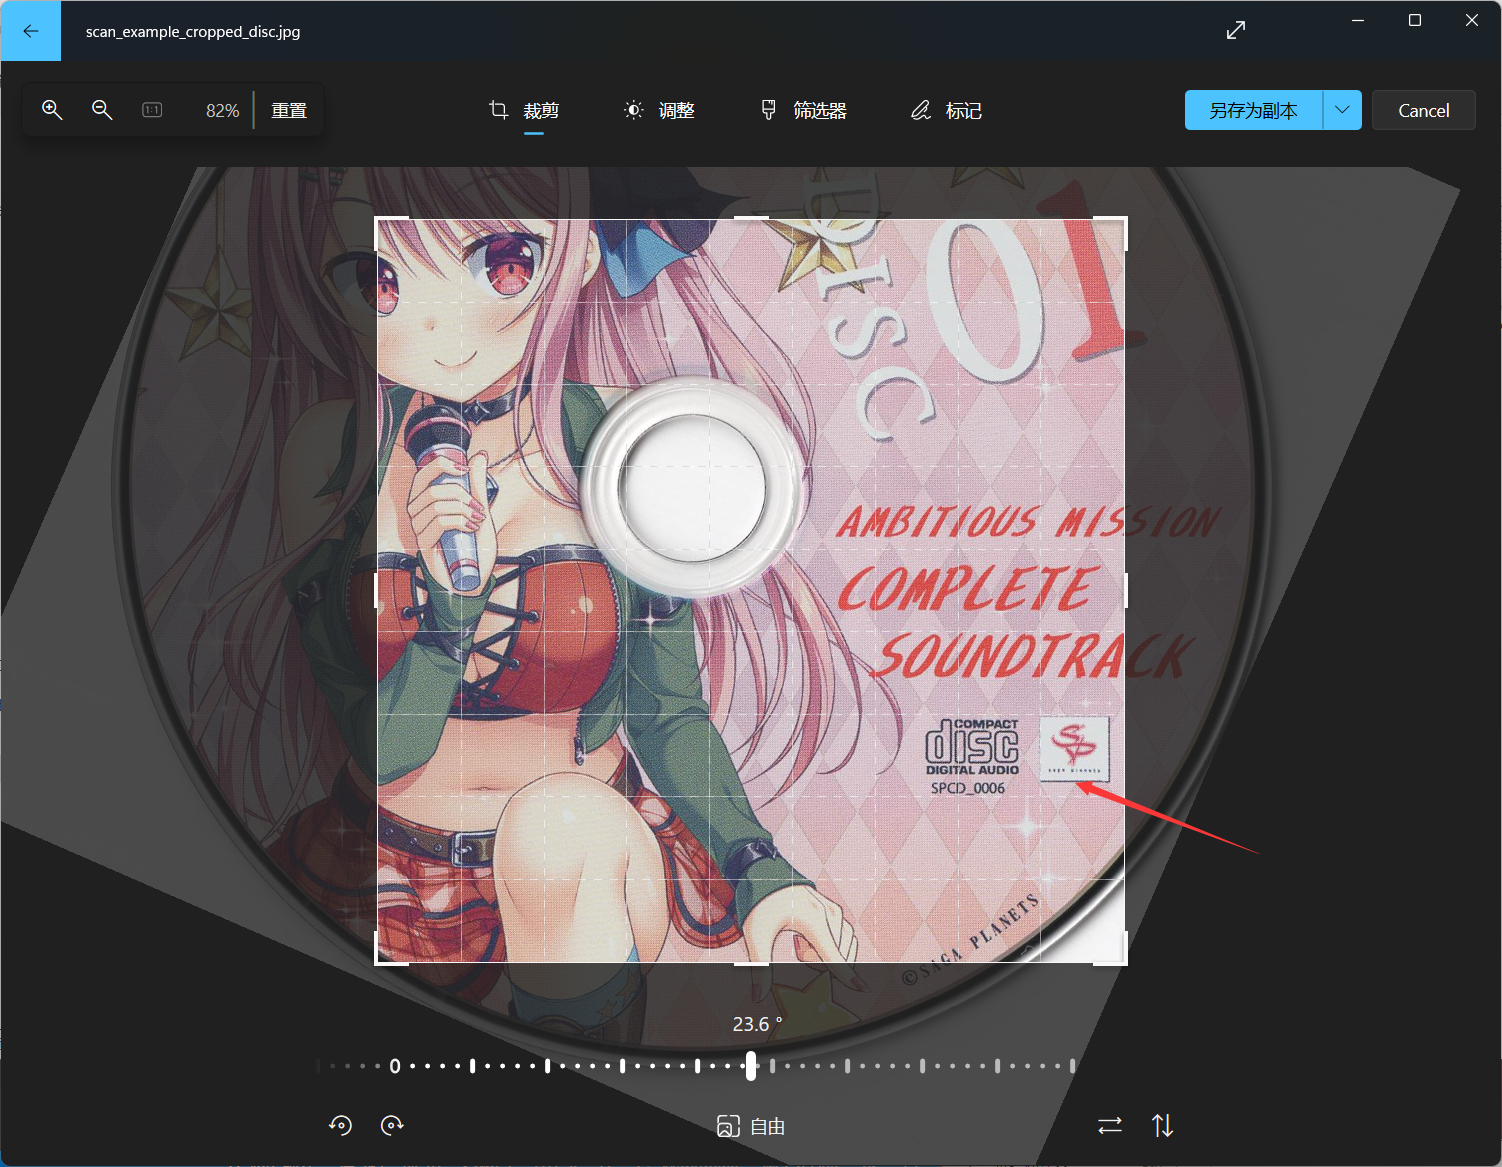
Then, use the built-in photo viewer of Windows 10 or Win 11 to open the disc image.
Press ctrl + E or click Edit, and try to rotate the scan of disc until the image is upright.
During this process, you can use the logo of brand, etc. to check if the image is upright or not.
Then, write down the rotation angle (in this case \(23.6^{\circ}\) clockwise).
1 | # Rotation degree of the disc scan. Negative value for clockwise rotation. |
Use the following code to rotate the cropped disc.
1 | # The same as above |
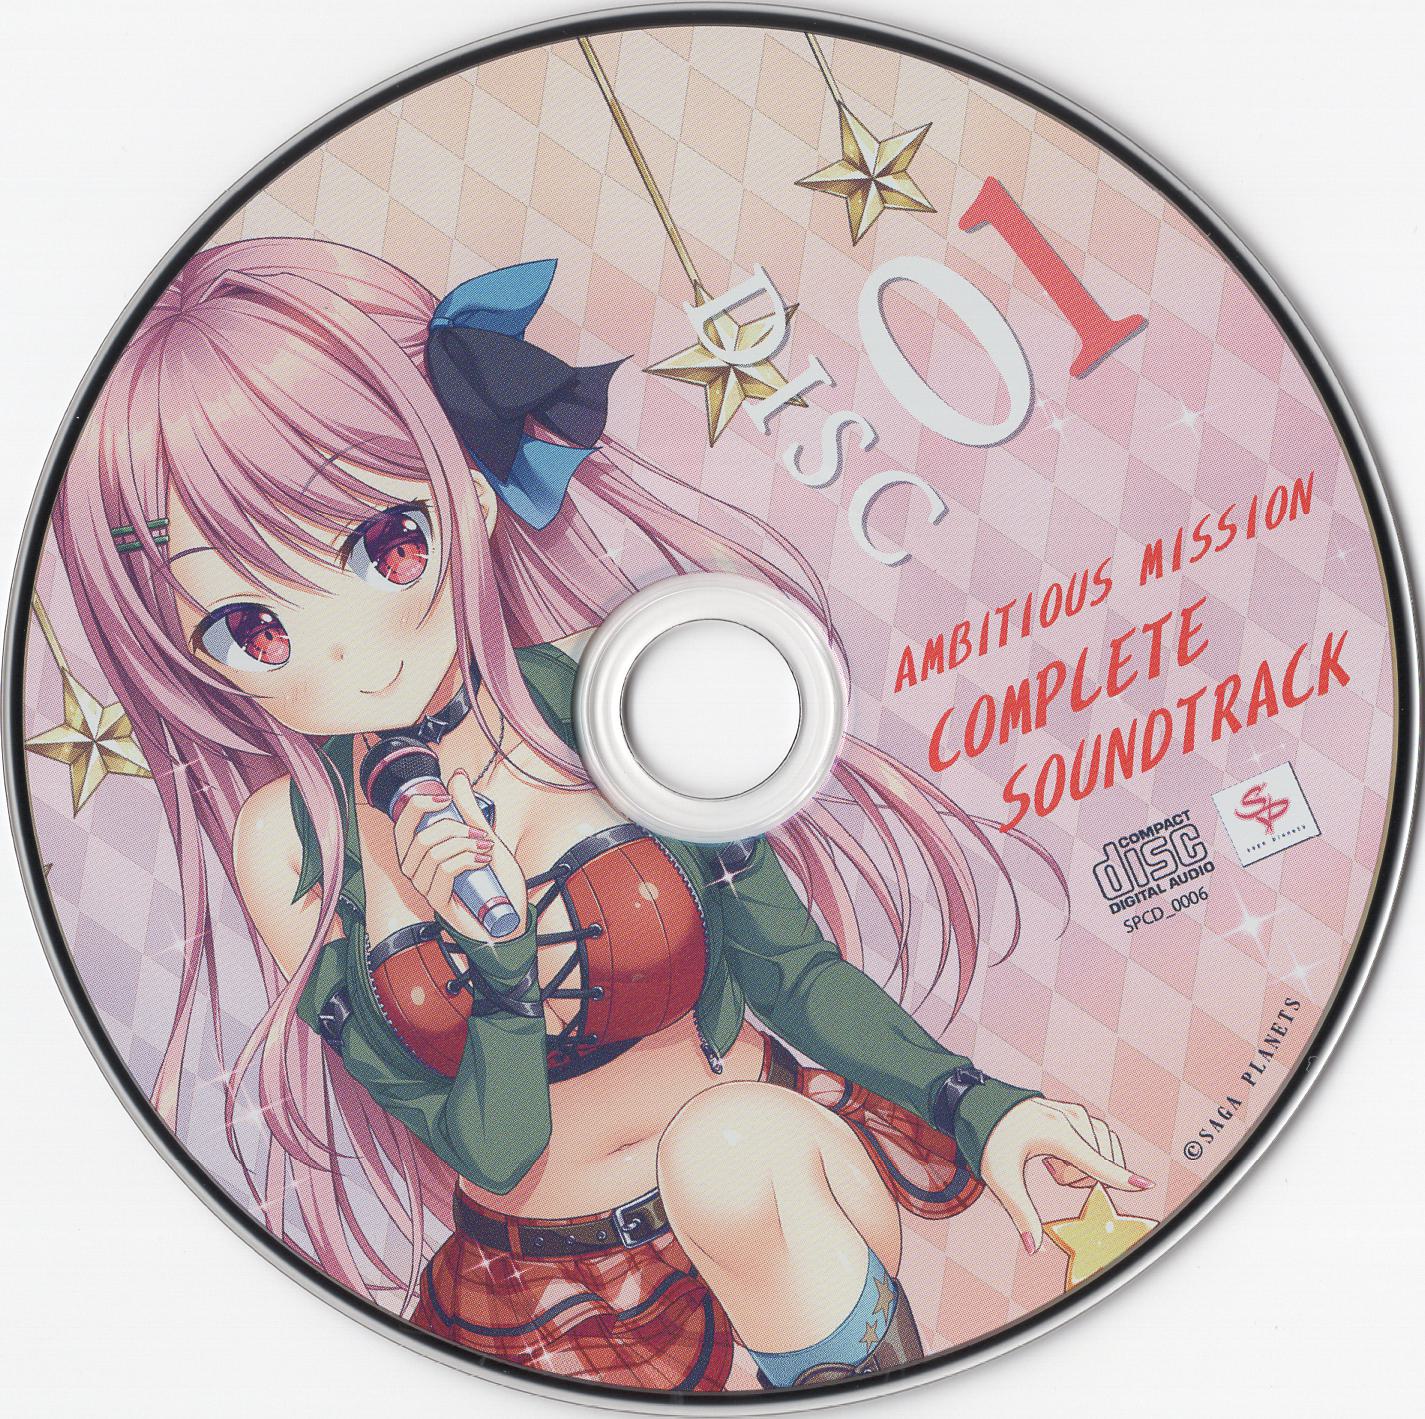
The final result looks like this:
At least it looks satisfying enough for me!
Album Management and Archiving
Finally, we have a fully ripped album, including all its audio files and scans! The last issue is how can we store it conveniently. As I am using foobar2000 as my music player, which supports listening to one directory (recursively!), I simply put each album in a separate folder like the following structure.
1 | C:\User\{USER_NAME}\Music\{FOLDER_NAME}\ |
The images like cover.jpg in each Disc folder is used for foobar2000.
It will automatically detect the cover image in the same directory of the audio file, and render it when playing that audio.
The README.txt contains some basic information of the album, like its information page, or the source of the album especially when it is downloaded from the Internet.
To archive the album, I simply use 7-zip to archive the complete folder and place it in my HDD.
That’s all about my CD ripping experience, hope you find it useful somewhere! The details of the content of each file, as well as the configuration of foobar2000, will be shared in Music Record - ACG OST, which is another hard task to be finished!
CD Ripping Experience Share
